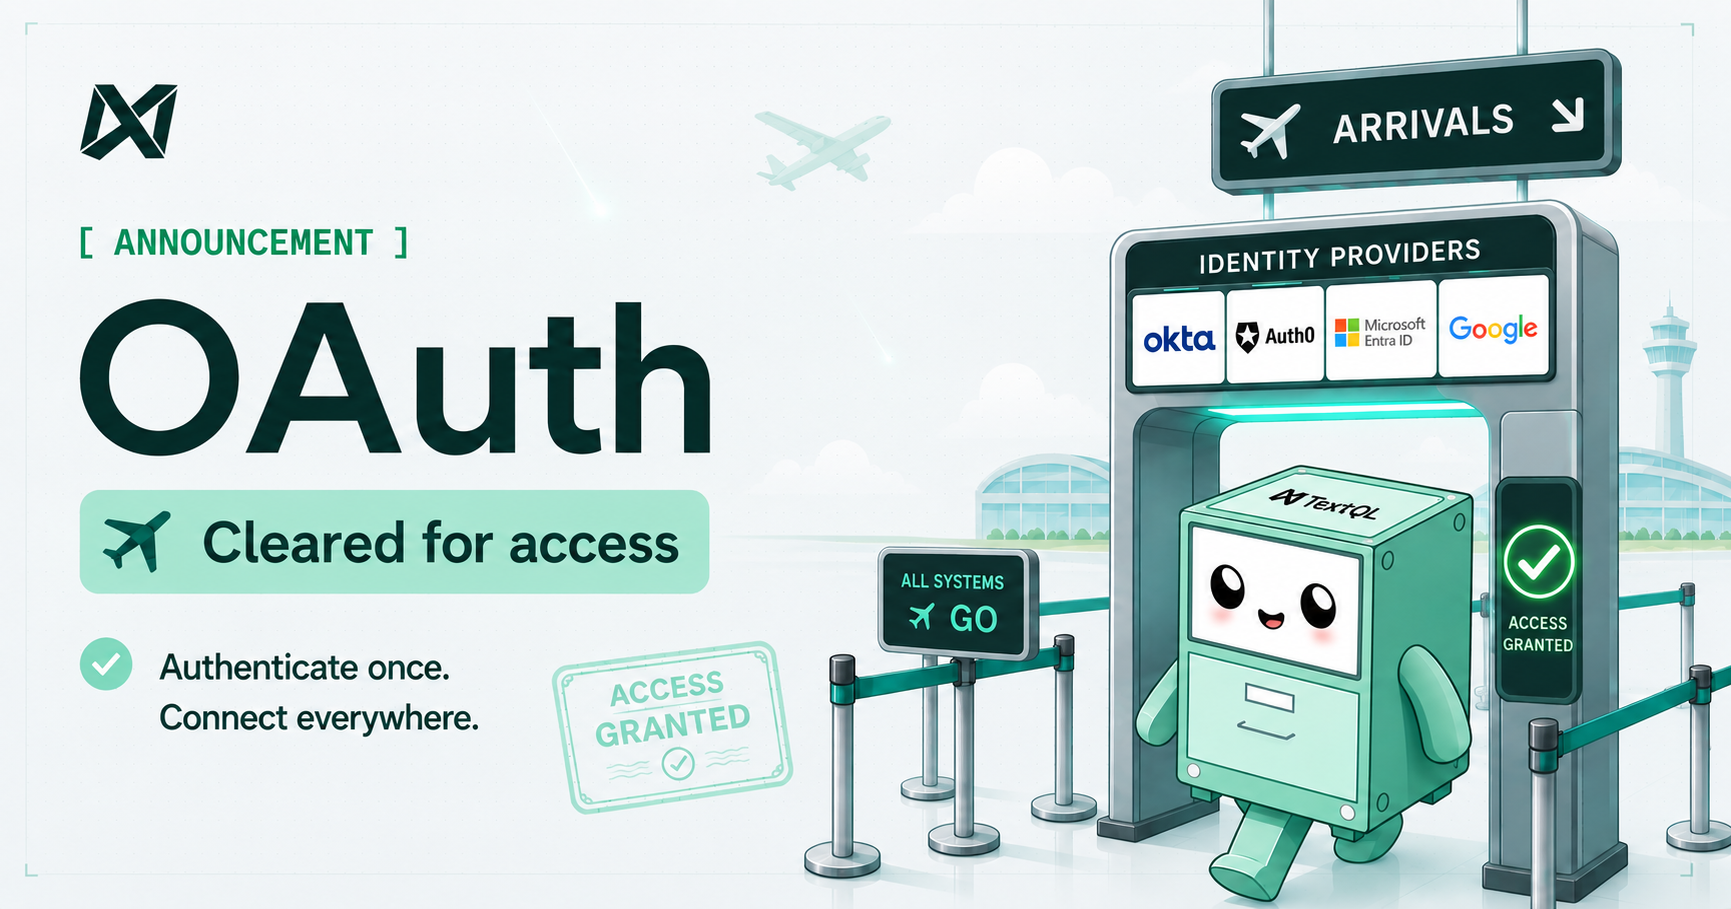
Today, we're introducing inbound OAuth and SSO for TextQL. Your team can now sign in through the identity provider your organization already runs, with MFA and access policies enforced automatically.
What's Shipping Today
TextQL now connects to your existing identity provider. Whether your organization runs Okta, Microsoft Entra ID, Ping Identity, Google Workspace, or any OpenID Connect (OIDC)-compliant provider, users log in through the same flow they already use. Multi-factor authentication policies carry over automatically, so there is nothing new to configure or enforce on the TextQL side. SCIM 2.0 keeps TextQL in sync as your team changes, and role assignments update automatically based on your identity provider groups.
How It Fits With Your Data Permissions
TextQL has long supported per-user OAuth for downstream data sources. When a user runs a query, it executes under their own warehouse identity, not a shared service account. Your existing row-level security, column masking, and data governance policies apply to every TextQL query exactly as they would if the user ran it directly, and your warehouse audit trail reflects the individual, not a shared credential. This is supported for Snowflake, Databricks, any of your API connectors, and more.
What's Next: Agent Identity
AI agents have introduced an entirely new class of actor to account for. When agents are executing queries autonomously, the same identity and access questions apply, but there is no human in the loop. We are building out three-legged OAuth and industry-standard delegation patterns so that TextQL agents carry their own verified identity, with scoped permissions and a full audit trail tied to the user who invoked them. More on this soon.
To enable OAuth for your organization, head to Settings and connect your identity provider under the SSO configuration. For a full setup guide, visit our documentation.